
Create availability schedules for staff and resources
Set weekly hours, a schedule timezone, and date overrides, then assign the availability to an event.
On this page
An availability represents the hours a person, room, or resource can accept bookings. Events use assigned availabilities to produce bookable dates and times.
Create an availability
- Open Resources → Availabilities and select Create New Availability.
- Enter the staff or resource details requested by the form. Use a name customers and your team can recognize.
- Set the Weekly Schedule for the days and hours this availability is normally open.
- Choose the timezone these hours are in under View in Timezone, then select Create.
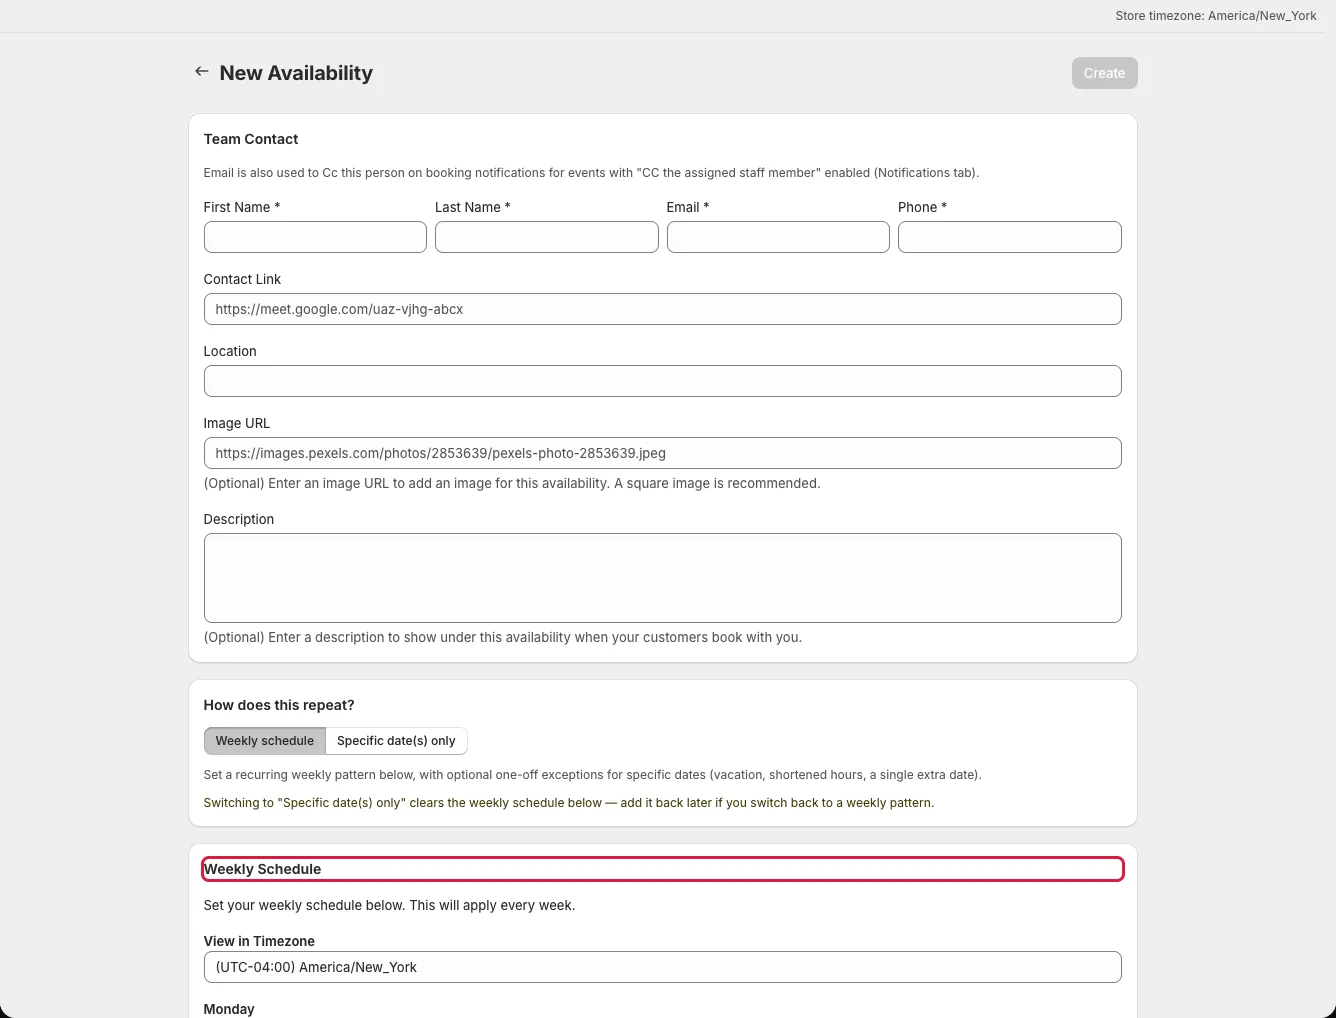
The new form starts with the store timezone. Choose a different timezone if the schedule's hours belong to another location. Treat the hours you enter as local clock times in the selected timezone.
Set the schedule timezone deliberately
An assigned availability's timezone takes precedence over the event's timezone when the app determines its bookable hours. For example, a room scheduled for 9 a.m. in Tokyo remains a Tokyo schedule even if the event has another default timezone. Check the timezone badge shown when you assign the availability to an event. For display problems, see Wrong booking times or timezone.
Add a date override
Use the specific-date area in the availability editor for a holiday, closure, or day with different hours. Select the date, set its hours or closed state, and save the override. Then test that date in an event that uses the availability. A date override changes this availability; it can affect every event assigned to it.
Assign it to an event
- Open an event from Events/Services and select Availability.
- Add one or more availabilities that can fulfil the booking.
- Save the event and check its available dates in Preview and on the live product page.
An event can use several availabilities. Under Availability → Capacity & Rules, choose whether the event uses a shared per-service limit or independent per-teammate slots. See Choose pooled or per-teammate capacity.