Create your first event or service
Choose a booking style, connect a Shopify product, set availability and payment, then review the draft event.
On this page
An event or service connects a booking schedule to a Shopify product. Create one after installing the app, then review the draft before making it live.
Start the setup flow
- Select Home → New event or Events/Services → Create New Event/Service.
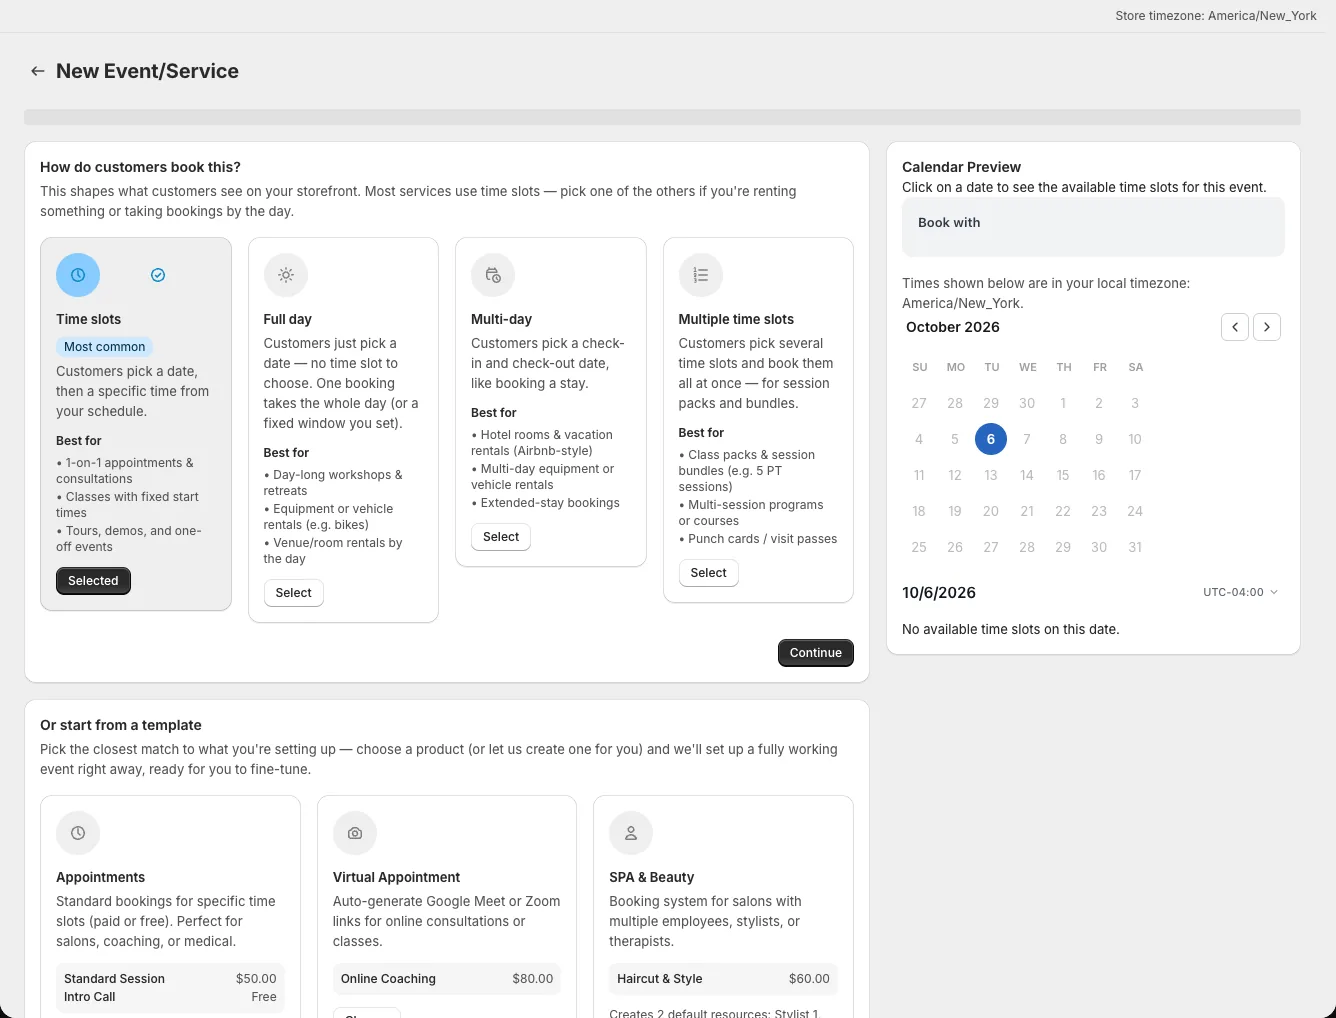
- On New Event/Service, choose a booking style. The page also offers Or start from a template for a preset starting point.
- Continue through the setup screens. A template takes a shorter path to a draft event; inspect all settings and reassign availability before activation.
Choose the booking style and product
Choose time-slot for a dated appointment with a time, full-day for a date-only booking, multi-day for a date range, or multi-slot for a bundle of sessions. Compare the booking modes before continuing. The next screen lets you select an eligible Shopify product or create a new one for the event.
Set payment and availability
Choose whether customers pay through Shopify checkout or book without payment. This choice is also locked after creation. Payment types and deposits explains the difference.
Then select the staff or resources that can fulfil the event. If the list is empty, create a schedule under Resources → Availabilities and return to the setup flow. Confirm its weekly hours and timezone before assigning it.
Add details, location, and questions
The following screens collect booking details such as duration and capacity, then location and intake questions. Enter the information customers need before booking. For a room or equipment rental, review the multi-day units and stay limits in the multi-day guide.
Review payment and notifications
Complete the final payment and notification options, then save. Open the event editor and inspect General, Availability, and Notifications for the new draft. A preset may fill fields you want to adjust.
Preview and activate
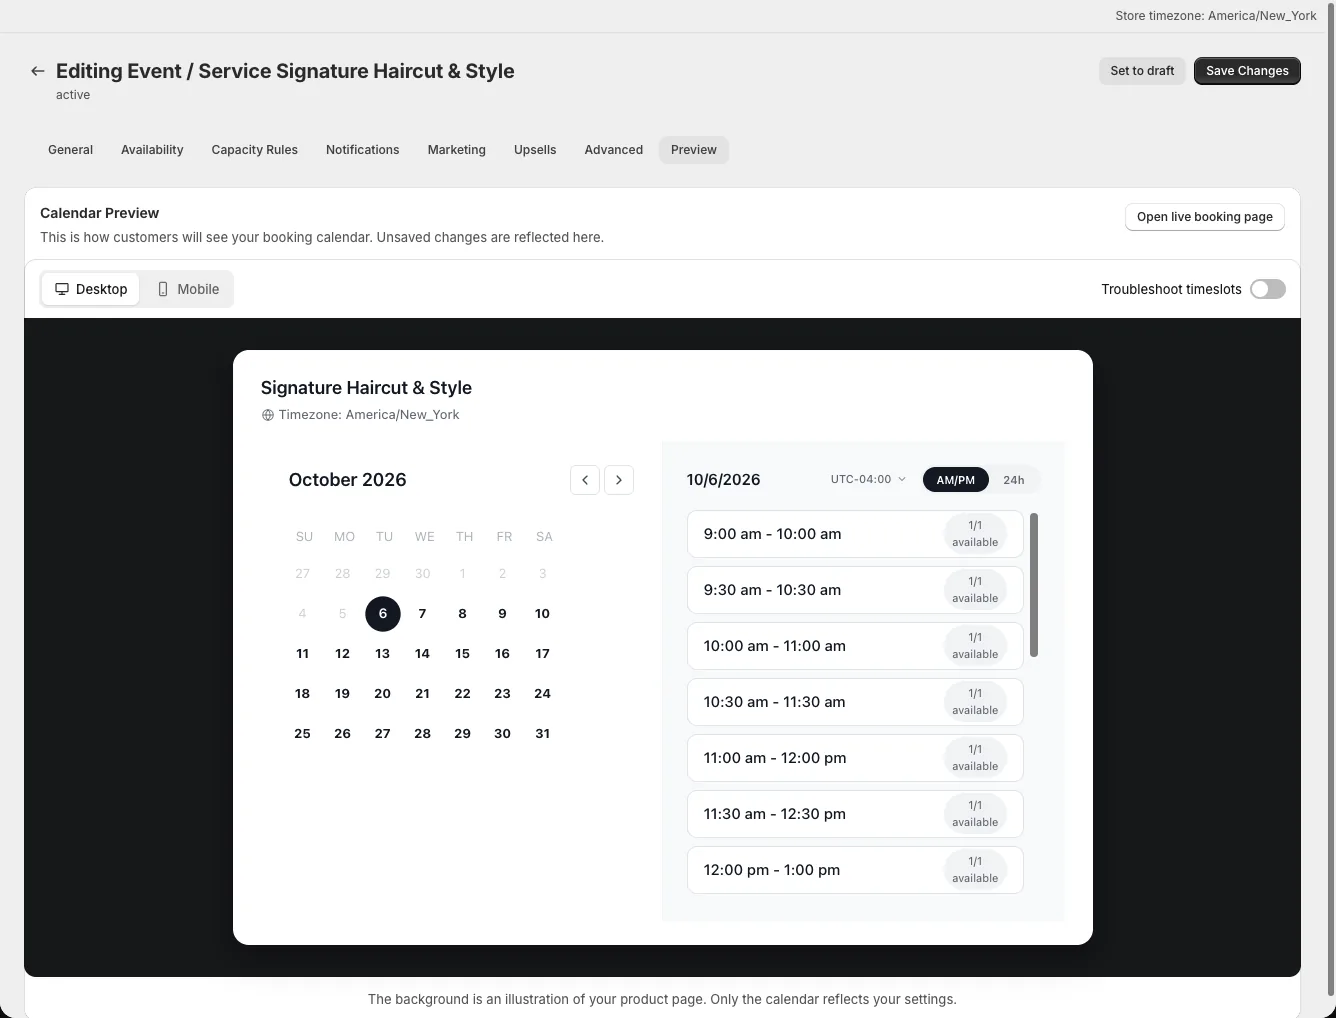
Open Preview to inspect the booking widget and its slots. Preview is a useful app-side check; your live theme, product publication, and Shopify checkout still need a real storefront test. When ready, use Activate on the event, then follow the go-live checklist.