
Create a Mapbox token and restrict it to your domains
Create a Mapbox access token for your store locator and limit it to your store's domains so no one else can use it.
CBmap Store Locator can draw your map with Mapbox instead of Google Maps. To do that it needs a Mapbox access token. Restrict the token to your own domains so no one else can use it on your account.
1. Create a Mapbox token
- Sign in to your Mapbox account (opens in a new tab), or create one (opens in a new tab).
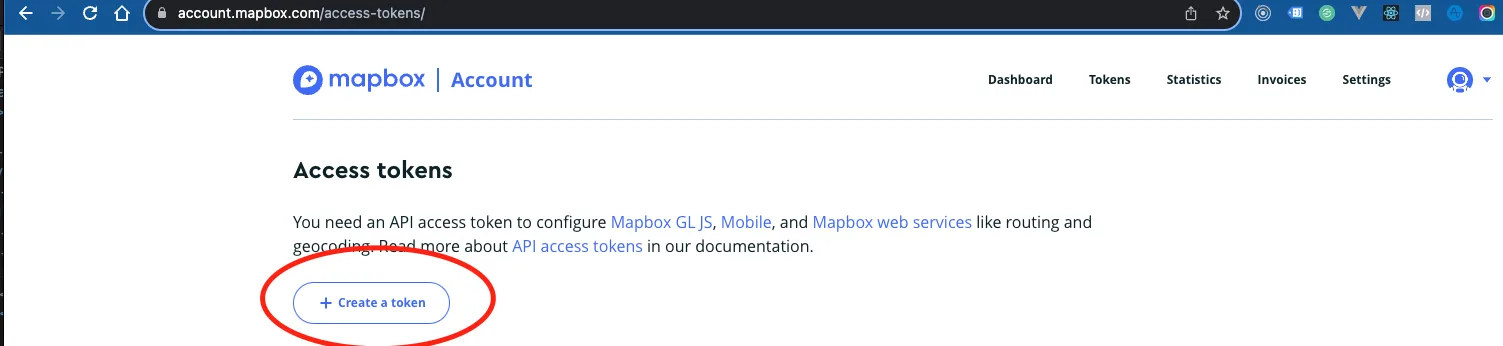
- Open the Access tokens (opens in a new tab) page and click Create a token.
- Give the token a name, for example "Store locator". The default public scopes are enough for CBmap.
2. Restrict it to your domains
- On the same page, under Token restrictions → URLs, add each address where the map should work: your store's domain, plus these two:
https://admin.shopify.com/
https://cleverbooster.com/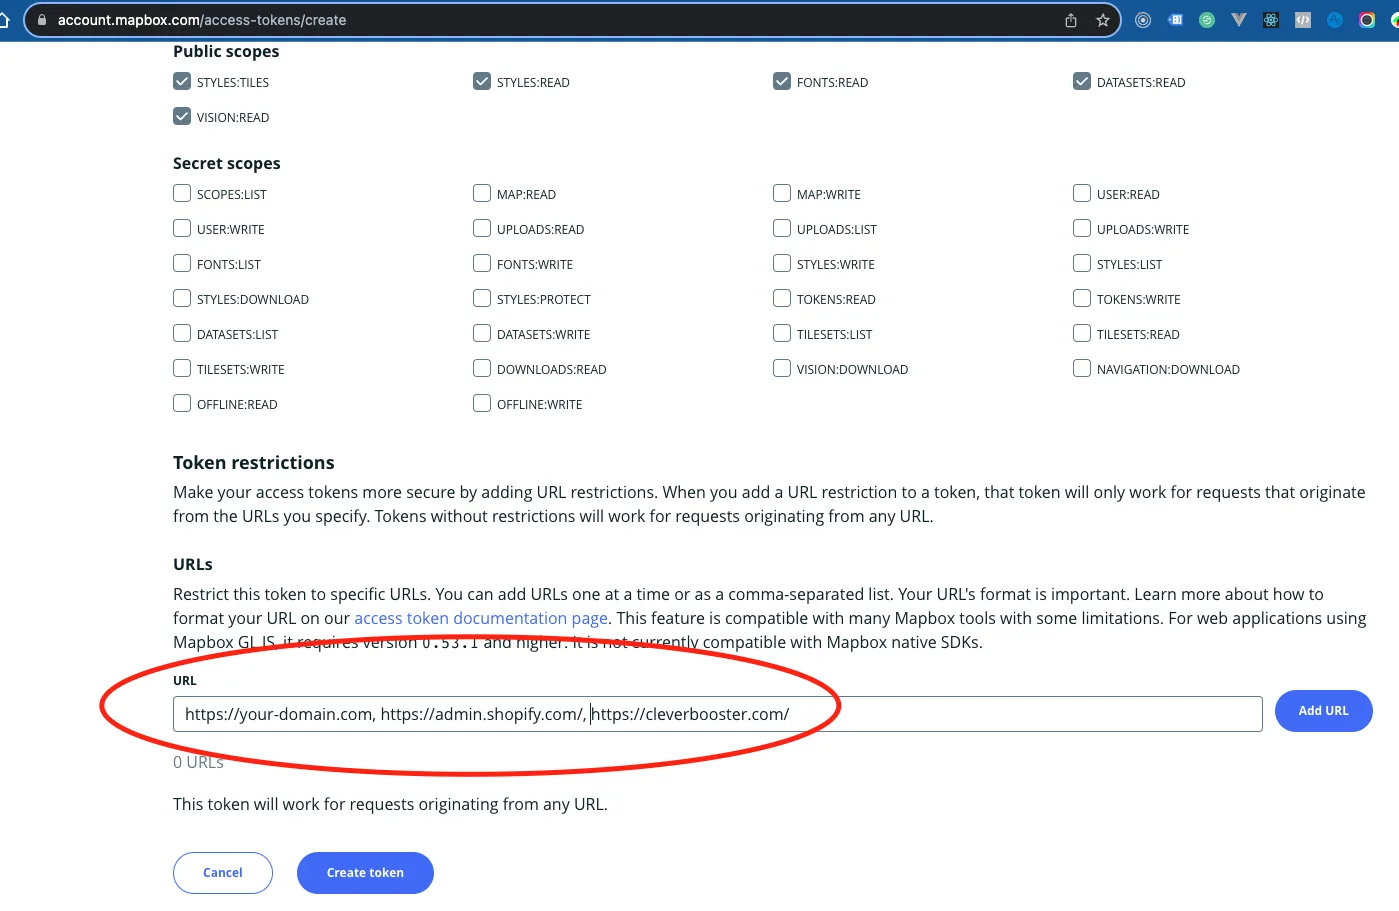
- Click Add URL after each one, then Create token.
3. Add the token to CBmap
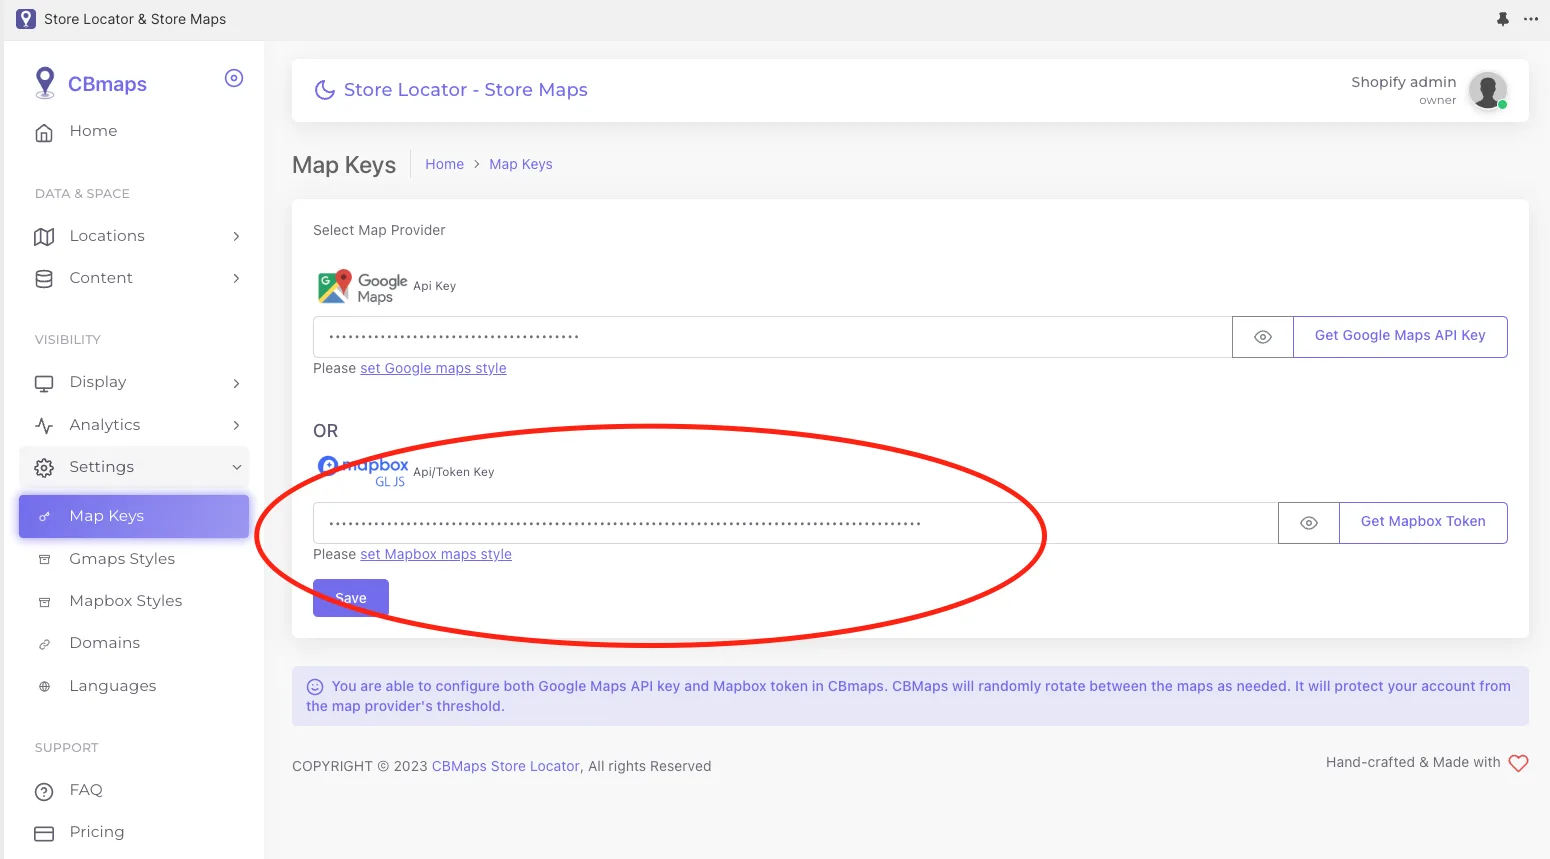
- In CBmap Store Locator, open Settings → Map keys.
- Paste the token into the Mapbox field and click Save.
Your store locator now loads its map from Mapbox.