
Check customers in and out, and handle no-shows
Mark arrivals, scan a booking QR code, check customers out, and record missed appointments.
Use booking status to keep the day's appointments accurate. Staff can work from the booking list or the Staff Portal; QR scanning is available in the Staff Portal and supported POS flow.
Check in an arrival
- Open Bookings → All Bookings and find the customer.
- Click Check In on the booking row and confirm Check in.
- Check that the booking now shows a checked-in status before admitting the customer.
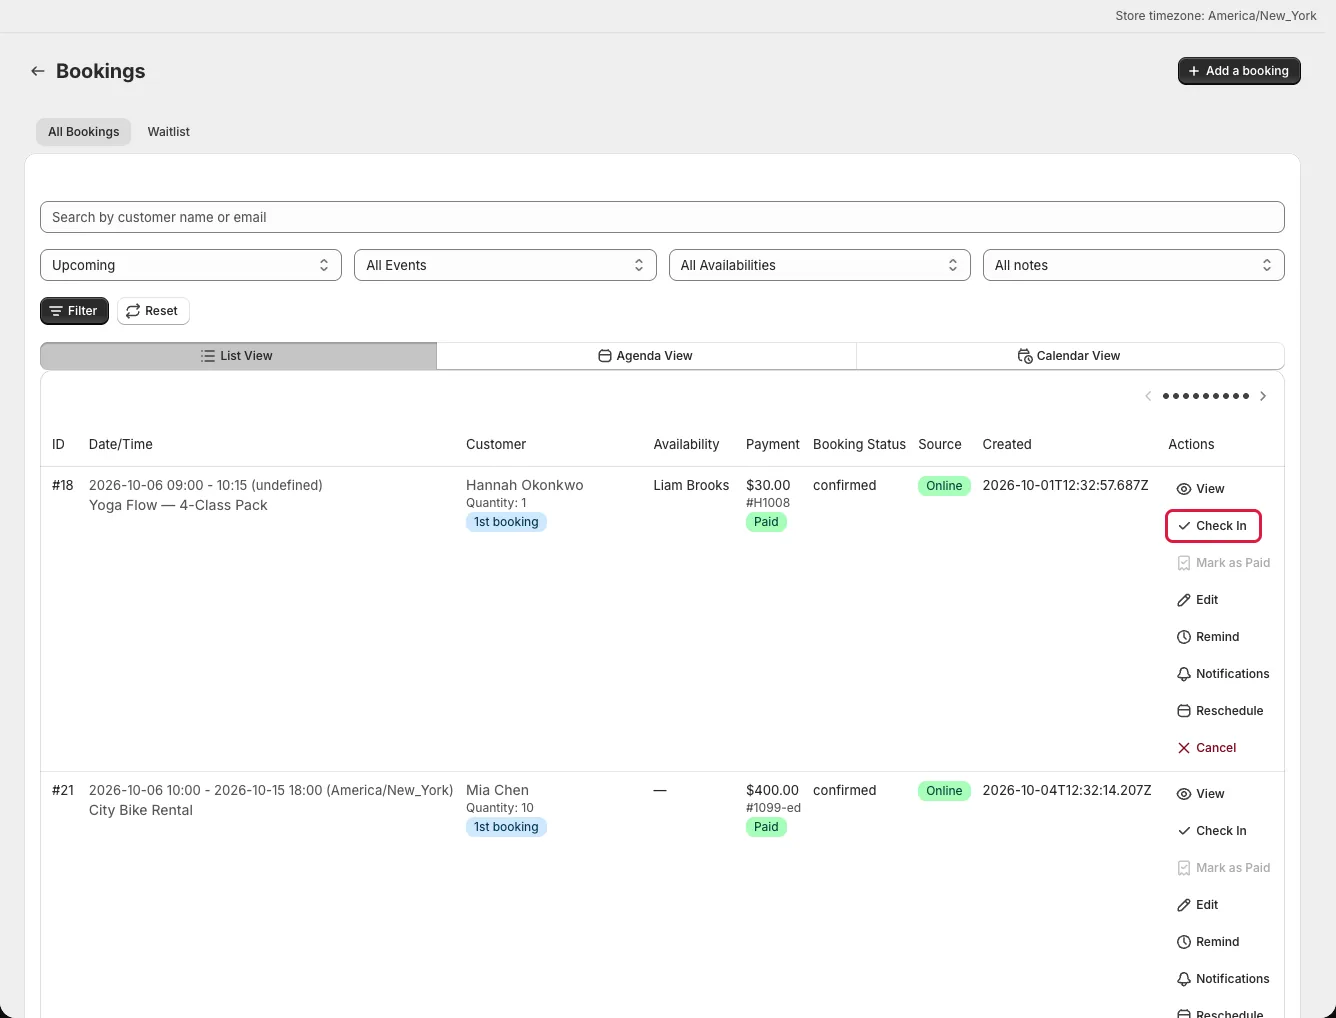
The Staff Portal also offers Check in on bookings assigned to that staff member. Once checked in, the normal cancellation and customer self-service reschedule actions are blocked. Staff can still check the customer out when the visit is complete.
Scan the check-in QR code
The booking detail page includes Check-in QR and a link to open it full-size. A confirmation email can include the code through {{qr_code_url}} if the email template retains that variable; the customer portal can show it too.
- Open the Staff Portal's scan page, or the POS Today & check-in tile.
- Scan the customer's booking QR code and review the booking shown.
- Tap Check in or Check out as appropriate. Scanning alone does not change the status.
Check out or mark a no-show
Use Check out after check-in when the appointment is complete. If the customer never arrives, use No-show in the Staff Portal after the booking window has passed. Review the booking before marking it: a no-show should not replace a valid check-in.
To automate this, open Settings → General → Check-ins & No-shows, turn on Automatically mark bookings as no-show, and set Hours after the scheduled end time to wait. Leaving that field blank uses two hours. The setting applies shop-wide and skips bookings already checked in, cancelled, or marked no-show.