
Set up CB Booking from install to first booking
Follow the essential steps to publish a bookable event, test the storefront, and prepare your schedule and payments.
On this page
Use this roadmap to take your first event or service from installation to a test booking. Each step links to a detailed guide when you need it.
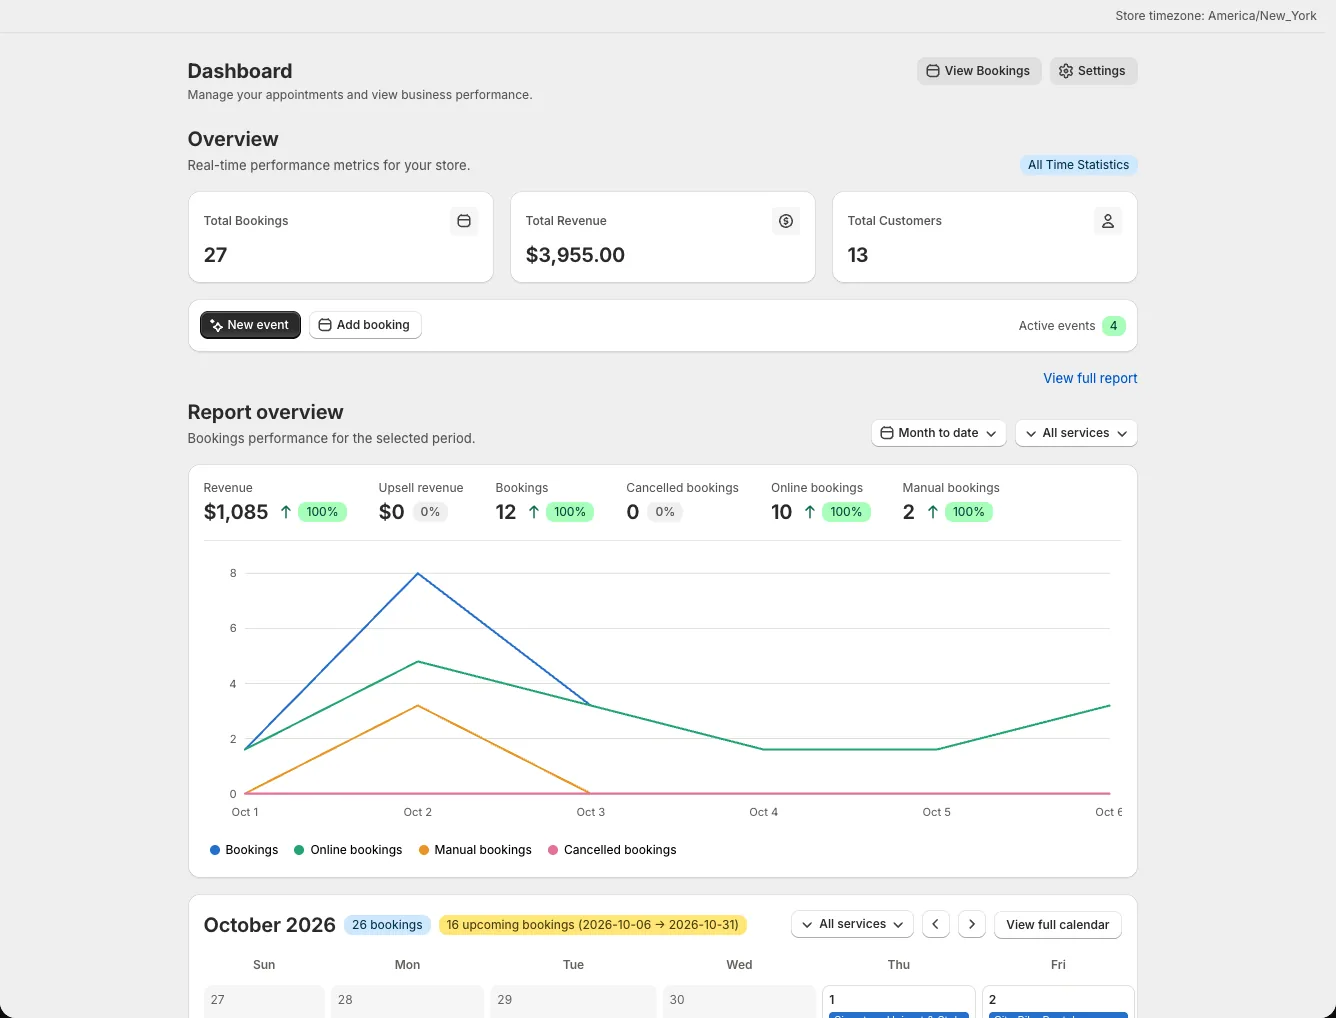
Install the app and turn on the booking widget
Install CB Booking from the Shopify App Store and approve its permissions. Then open your live theme in Shopify's theme editor, turn on the app embed, and save. The embed enables the booking widget on eligible product pages; it does not create a bookable event by itself. Follow Install the app and enable the widget.
Create your first event
Select Home → New event or Events/Services → Create New Event/Service. Choose a booking style, connect a Shopify product, and finish the remaining setup screens. You can also select Or start from a template on the New Event/Service screen. A new event starts as a draft; review it before activation. See Create your first event or service.
Check that everything is live
Activate the event, make its Shopify product Active and available to Online Store, then check the widget on the published theme. Open the real product page and place a test booking through the flow you selected. Use the go-live checklist so you can catch a missing product publication or theme setting.
Set your schedule
Under Resources → Availabilities, set the days and hours your people, rooms, or equipment can be booked. Assign those availabilities to the event. If staff work in different timezones, set each availability's timezone deliberately. Create availability schedules explains weekly hours and date overrides.
Decide how customers pay
Choose whether the event uses Shopify checkout or books without payment while creating it. For a checkout event, you can later configure a deposit on its General tab. Read Payment types and deposits before testing the final checkout total.
Turn on notifications
Check Settings → Email templates and the event's Notifications tab for the messages you want to send. SMS and WhatsApp are separate channels that need their own setup and credits. Continue with email notifications or SMS and WhatsApp notifications.
Go further
After the first test booking, you can configure the customer portal, Staff Portal, widget appearance, and calendar sync.