
Edit an event and find its settings
Use the eight editor tabs to update an event, and learn which choices require a new event.
On this page
Open an event or service from Events/Services to change its configuration. Save changes before checking the storefront.
Find the setting in the editor
| Tab | Use it for |
|---|---|
| General | Event details, duration, location, deposit settings, and attached intake questions. |
| Availability | Assigned staff or resources, capacity, booking window, and waitlist choices. |
| Capacity Rules | Temporary capacity or staff restrictions for bookable times. |
| Notifications | Which messages this event sends. |
| Marketing | Event marketing options. |
| Upsells | Add-on Shopify products offered with the booking. |
| Advanced | Additional event behavior, including a temporary slot-hold override and self-service policies. |
| Preview | An app-side view of the booking widget with a link to the live product page. |
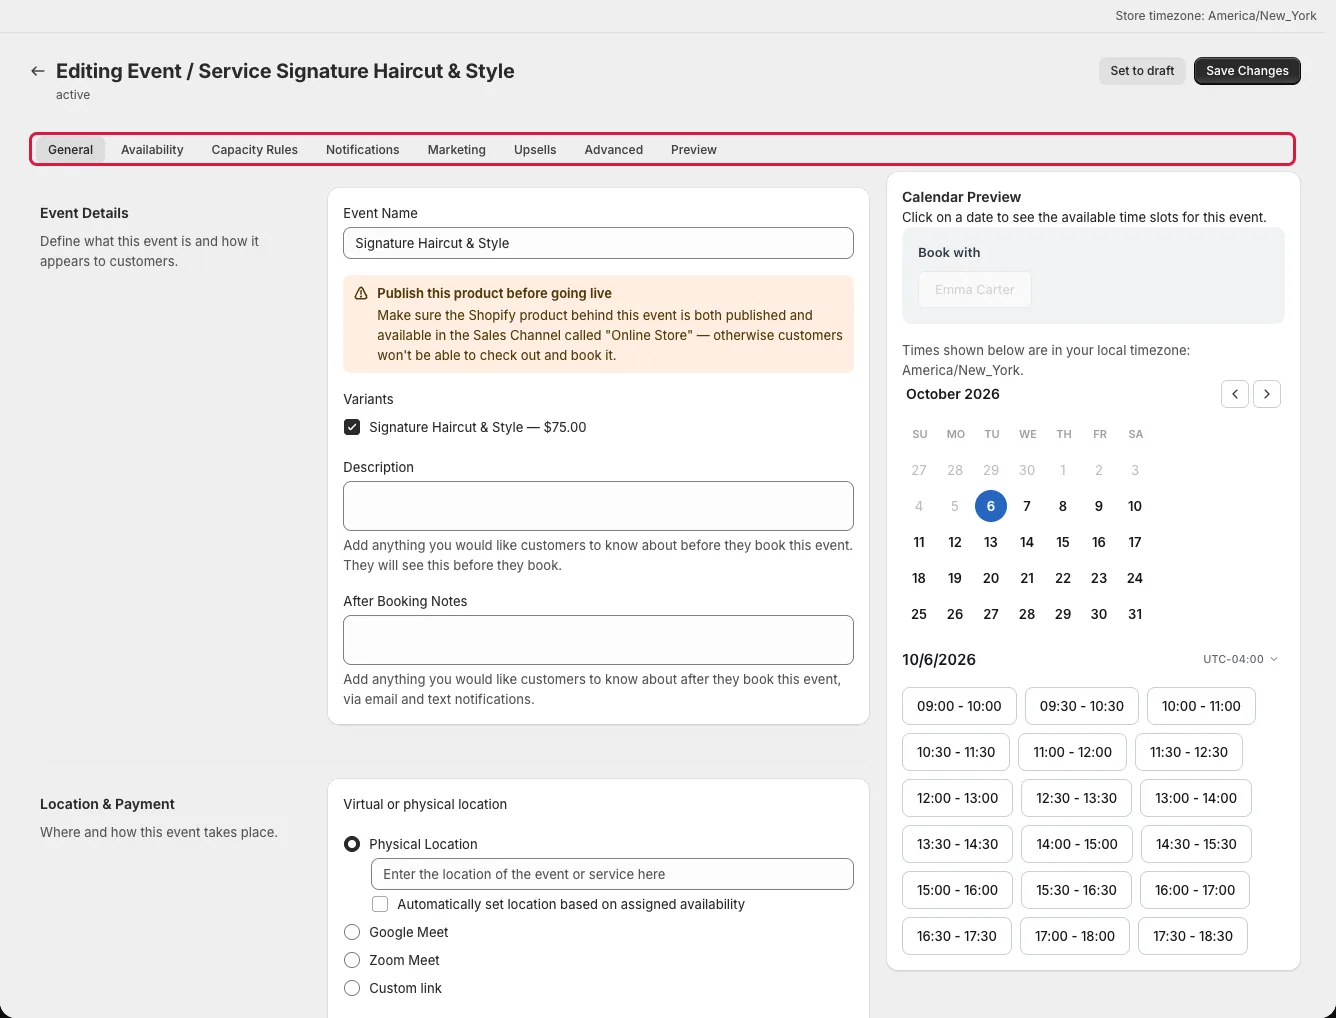
The Availability tab contains a Capacity & Rules section for per-service or per-teammate capacity. The separate Capacity Rules tab holds window-specific overrides. For multi-day events, the latter rules are saved but do not affect bookings; use the multi-day capacity setting on Availability.
Know which choices are locked
Booking style and payment type cannot be changed on a saved event. To choose a different one, duplicate the event. The duplicate starts as a draft and its availability needs reassignment. Check the new product connection and settings before selecting Activate.
Use Preview and the live page
Open Preview after saving to check the booking calendar and available times. Its storefront-style view helps find configuration mistakes, but a theme's placement, product publication, cart, and checkout can differ. Follow Open live booking page and place a test booking on the actual storefront before launch.
Check Advanced when needed
Open Advanced for event-specific behavior such as overriding the shop's temporary slot hold and setting customer self-service policies. Change one setting at a time, save, and test the affected booking path. For shop-wide widget behavior, use Settings → Storefront instead.